Let’s talk for a minute.
If you’ve ever brought home one of those little plastic-wrapped basil pots from the grocery store, you probably know the feeling: you’re already imagining fresh pesto, caprese salads, and a kitchen filled with the scent of fresh herbs.
Then, somehow just a week or two later, that once-lush basil is sitting on your windowsill with yellow leaves, drooping stems, and very little hope.
If this sounds familiar, don’t blame yourself. You’re not bad at growing plants.
The real problem is often the way grocery-store basil is grown and prepared for sale before it ever reaches your kitchen.
Those small pots are typically packed with multiple basil seedlings to create a lush, full-looking plant that is ready for harvest. That works well for short-term retail sales, but the crowded roots and limited space can make it difficult for the basil to thrive for long at home.
After losing my fair share of grocery-store basil, I finally figured out what was going wrong and, thankfully, the solution is much simpler than I expected.
These days, my basil grows happily on my kitchen counter, I can snip fresh leaves whenever I need them, and the plant keeps coming back for more.
How To Grow Basil Indoors From A Grocery Store Basil Plant
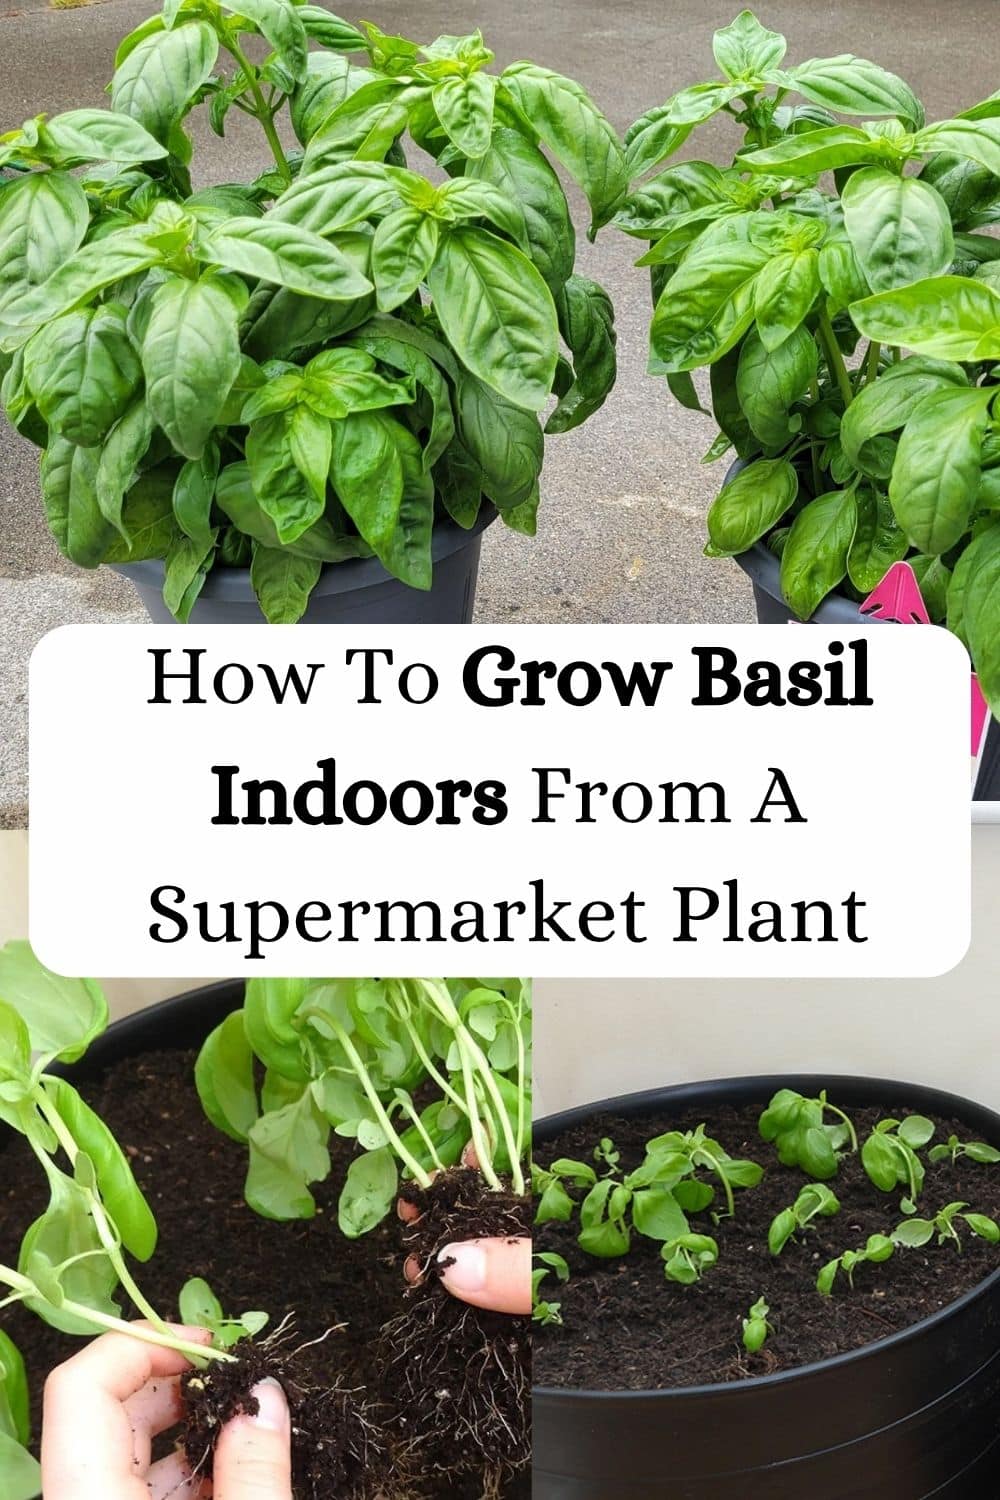
Here’s exactly what I learned about turning a supermarket basil plant into a healthy, long-lasting herb you can enjoy for months.
Why Supermarket Basil Struggles in the First Place
Here’s the thing nobody tells you at checkout: that adorable little pot is not one basil plant. It’s twenty to forty basil seedlings, all planted together in a container barely big enough for four or five.
It’s done this way on purpose. A dense pot looks lush and full on a store shelf, and that sells. But those seedlings have been fighting each other for water, nutrients, and root space since the day they were planted, and they’ve also just been dragged out of a cozy, humidity-controlled greenhouse into a store, and then into your house. That’s a lot of upheaval for a small plant to handle gracefully.
None of this means the plant is doomed. It just means it needs a little help before it can settle in and actually grow.
Here are the tips that made all the difference for me.
Related Posts:
Step 1: Divide the Root Ball Before Anything Else
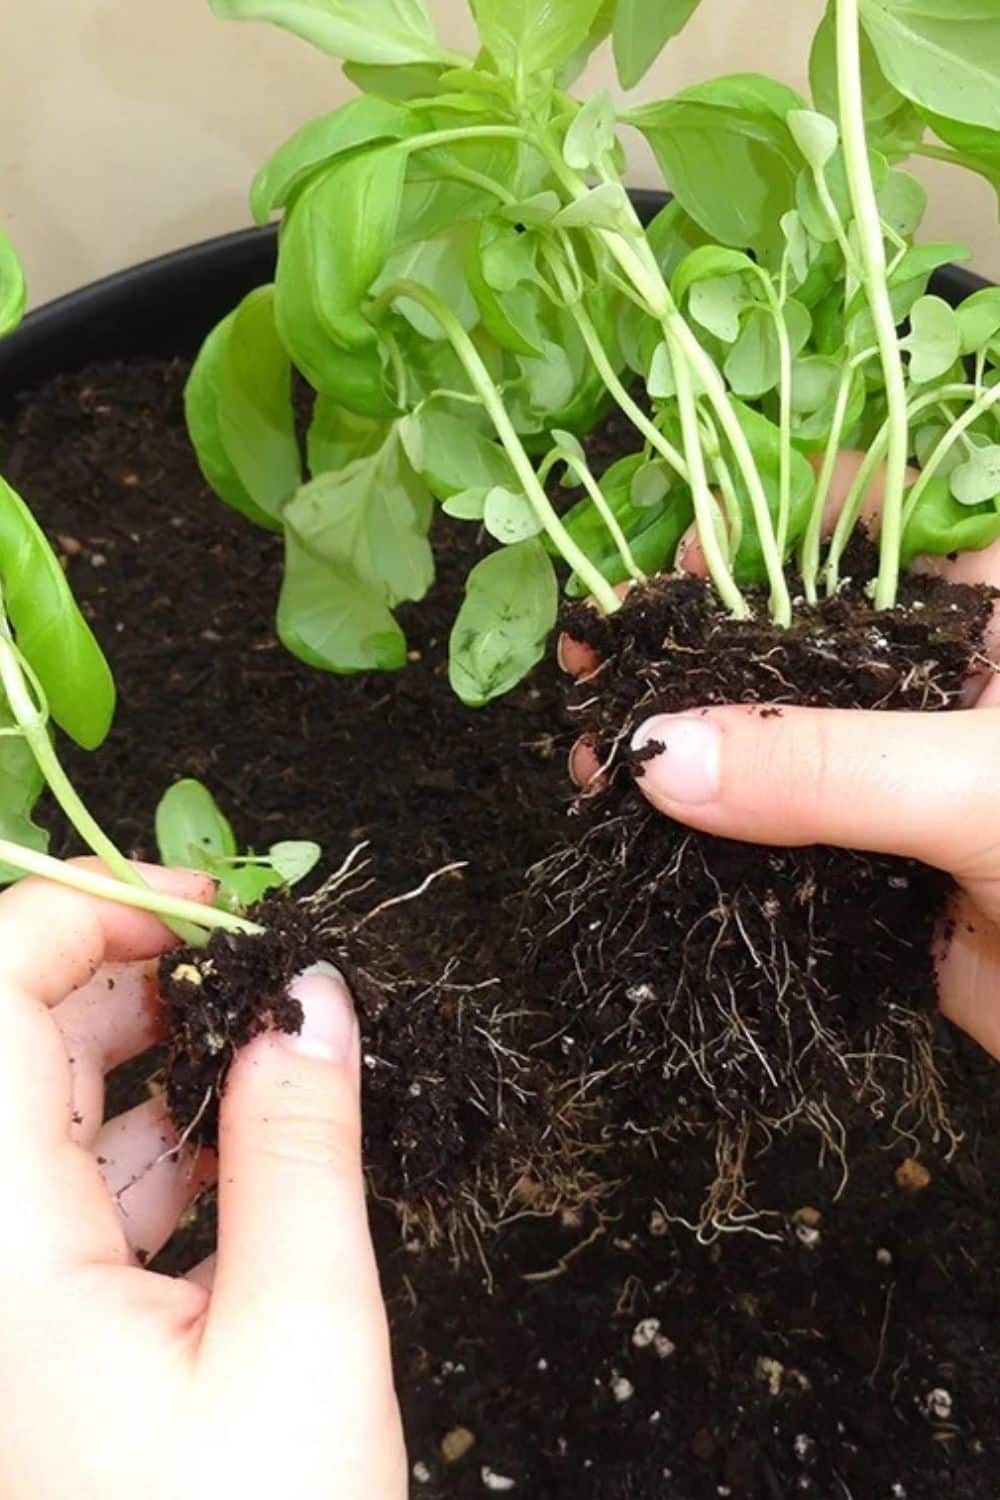
This is, without question, the single most important step, and it’s the one almost everyone skips. If you take that crowded little pot and just drop it, root ball and all, into a bigger container, you haven’t actually solved the overcrowding problem. You’ve just given all those competing seedlings a bit more room to keep competing.
Instead, gently pull the whole plant out of its plastic pot and take a look at the roots. You’ll almost certainly find one dense, tangled mass.
Working over a sink (this part is a little messy, so don’t do it over your good rug), carefully separate that root ball into smaller sections, clumps of about three to six stems each, with their own bit of root attached.
Some roots will tear as you do this. That’s fine. Basil is tougher than it looks, and a plant with slightly bruised roots after dividing will do far better long-term than one left to fight for space in an overcrowded pot.
Step 2: Give Each Clump Its Own Pot
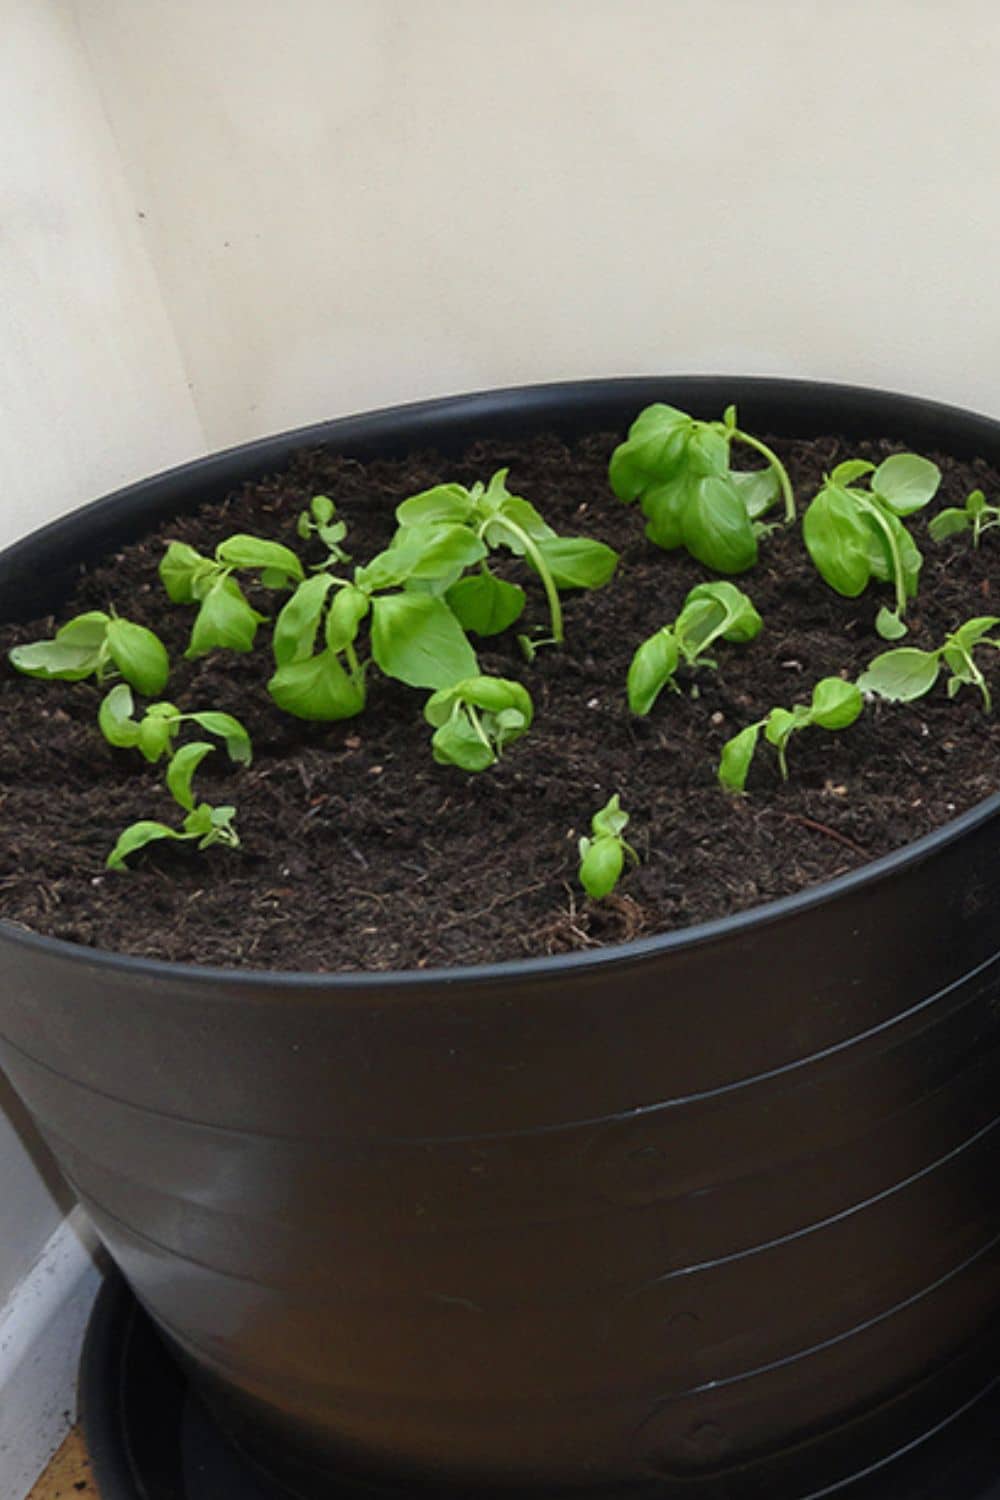
Once divided, each little clump gets its own home. A four- to six-inch pot with drainage holes is ideal for a single clump.
Fill it with a good-quality, well-draining potting mix — not soil straight from the garden, which can compact indoors and suffocate the roots.
Alternatively, if you have a large pot, you can plant several clumps together. Just leave enough space between them so they aren’t crowded as they grow.
Plant each clump at the same depth it was growing before, then water it in thoroughly.
If you’re using separate pots, give them a little breathing room rather than crowding them together. Good airflow matters here almost as much as having enough room for the roots.
Step 3: Chase Every Bit of Light You Can Find (Then Supplement It)
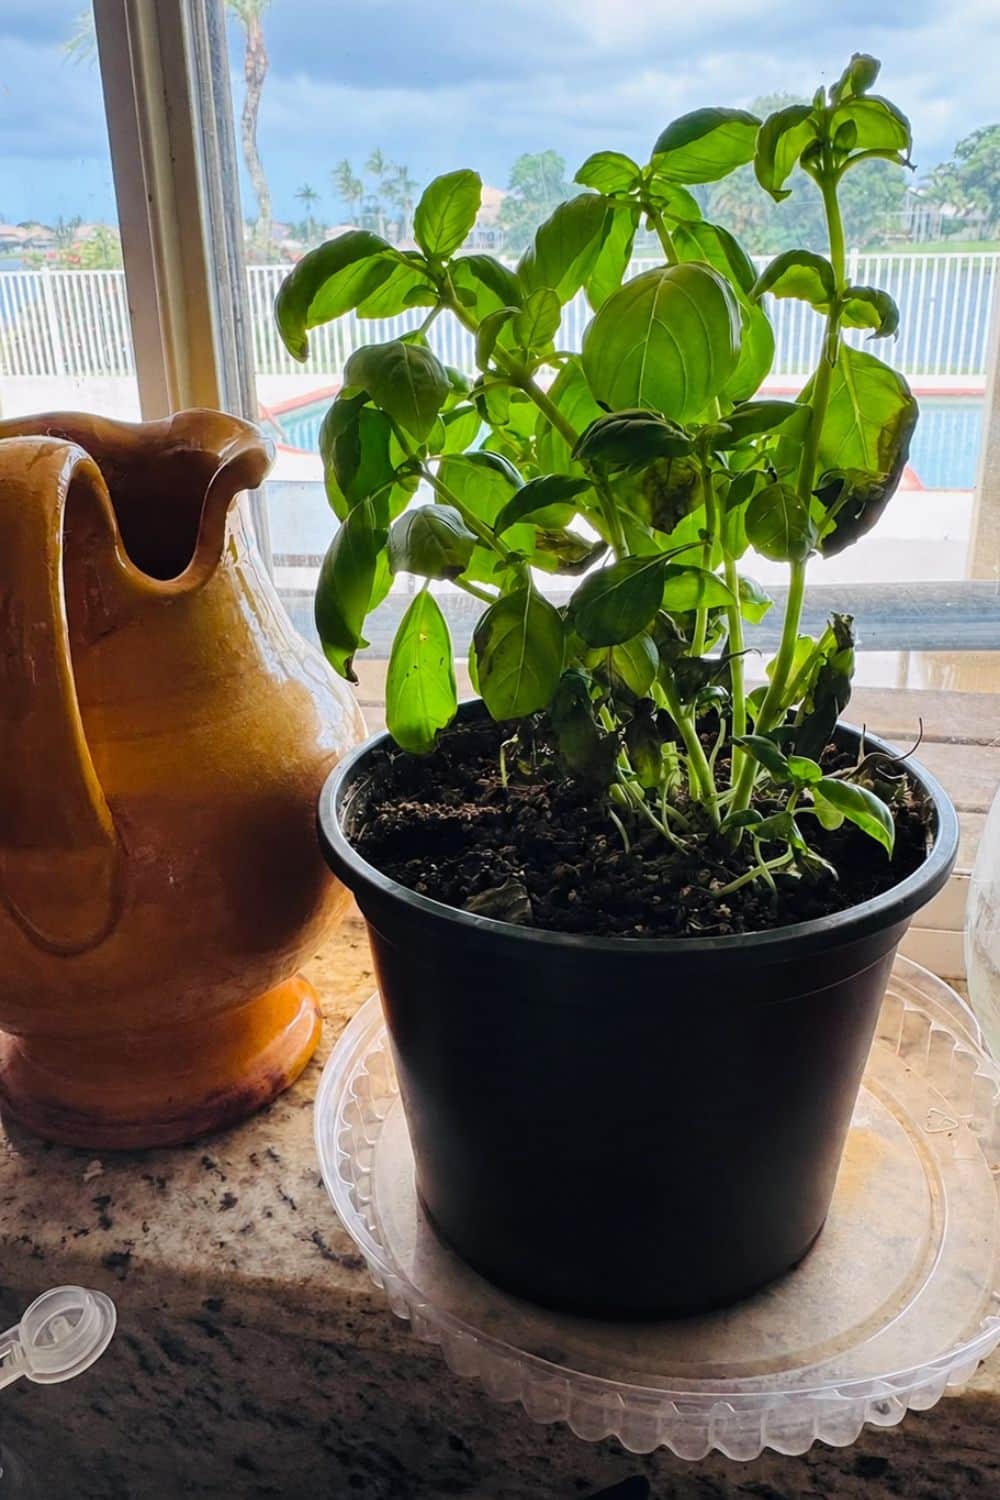
Basil is a full-sun plant at heart, and this is where a lot of indoor herb gardens quietly fall apart. Even a spot that feels bright to your eyes is often nowhere near what basil actually wants, which is six to eight hours of direct light a day.
A south or west-facing window is your best bet. If you don’t have one and most of us don’t, a small LED grow light is a genuinely worthwhile investment.
Run it on a timer for twelve to fourteen hours a day and it will outperform most windows, especially once the days get shorter.
If your basil starts stretching upward with long gaps between the leaves, that’s the plant telling you, quite plainly, that it needs more light.
Step 4: Water Like You Mean It, Not Like You’re Anxious
Basil likes evenly moist soil, which is different from soggy soil and different from bone-dry soil. Rather than watering on a fixed schedule, stick a finger about an inch into the pot before each watering.
Dry at that depth? Water thoroughly until it runs from the drainage holes. Still damp? Leave it be.
Overwatering is the sneakier of the two mistakes, mostly because wilting leaves look the same whether the plant is thirsty or drowning.
If the leaves are wilting and the soil is wet, the issue is too much water, not too little, and root rot is likely already starting.
Step 5: Harvest Often, and Harvest Correctly
This might be the tip that changes everything. Basil grows from the top down, and cutting it properly actually tells the plant to grow more, not less.
Every time you snip a stem just above a leaf node — that little junction where two small leaves meet the stem — the plant responds by sending out two new stems from that spot instead of one.
Find a node a few inches down from the growing tip, and cut just above it with clean scissors. Do this every week or two once your basil is established, and you’ll end up with a full, bushy plant instead of one tall, sparse stem.
Try to never take more than about a third of the plant at once, and pinch off any flower buds the moment you spot them — once basil flowers, the leaves turn bitter and the plant more or less stops producing.
A lot of people hold off on harvesting because they’re waiting until there’s “enough” basil for a real recipe. I get the instinct, but it works against you.
Harvest small amounts often, right from the start, and the plant will reward you with steadily more to work with.
Step 5: Feed Your Basil Occasionally
I’ll admit I ignored this step for years, mostly because it felt unnecessary. It isn’t. Every few weeks, a dose of a mild organic fertilizer noticeably darkens the leaves and perks the whole plant up.
Indoor potting soil only holds so many nutrients, and a plant that’s being harvested regularly is using them up faster than you’d think.
Step 6: Give It Time
None of this happens overnight, and that’s fine. After dividing and repotting, expect a quiet adjustment period of a couple of weeks before you see real new growth. That pause is normal, not a sign that you’ve done something wrong.
Do these few things consistently, and that sad little supermarket pot really can turn into a handful of thriving basil plants that keep you in fresh leaves for months.
There’s something quietly satisfying about snipping basil for dinner from a plant you personally talked back from the brink — small win, but it’s a good one.

Hey there, fellow plant enthusiasts! I’m Rachel, the green-thumbed writer behind Rooted In Garden. With a deep-rooted love for all things botanical, I’ve made it my mission to help you cultivate a thriving collection of houseplants. As a devoted plant parent myself, I understand the joys and challenges that come with nurturing these leafy wonders. Whether you’re a succulent aficionado, an orchid enthusiast, or simply adore all potted flora, join me on this journey as we explore the secrets to growing and caring for our beloved green companions. Together, let’s create a flourishing oasis indoors.